
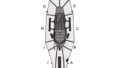
Most Alpacka Raft models outside the whitewater lineup don’t include a foot brace as standard equipment. The Classic — now discontinued — was one of them. The cockpit interior was minimal and clean, which is part of what made it appealing, but it also meant no built-in anchor points inside the hull.
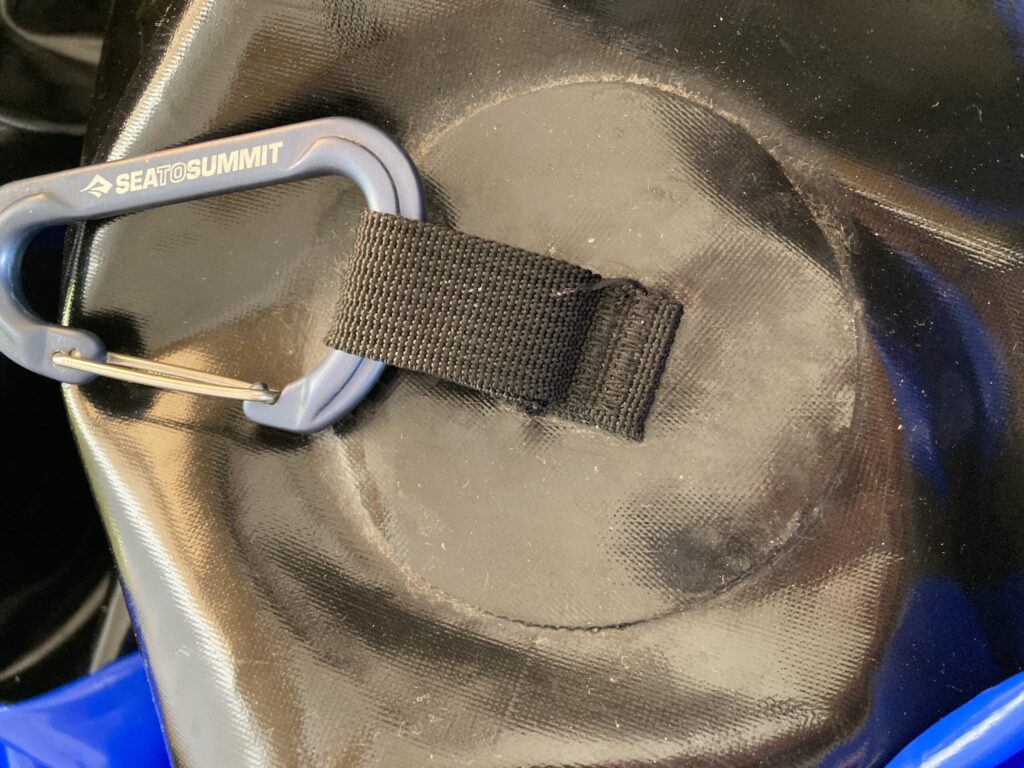
The workaround I’ve been using: a DIY-attached grab loop bonded near the foot end of the cockpit interior.
Why It Matters
Thread a carabiner or strap through the loop, and you have a reliable anchor point for securing a dry bag inside the cockpit. If the boat flips, the bag stays with the boat instead of washing away downstream.
This isn’t just a convenience tweak — it directly addresses a real risk. Packrafts are light and recover quickly after a flip, but during a capsize, unsecured gear inside an open cockpit can be swept away in seconds. On models without a foot brace, there are no built-in tie-down points, so you have to create your own.
Intentionally building secure points makes a meaningful difference to overall safety.
The Craft of Fitting Out a Packraft
Small DIY additions and rigging adjustments like this are part of what makes packrafting genuinely engaging beyond just paddling. Each modification shapes the boat to your style and your field. A production boat begins to take on its own character — one boat, one setup, one paddler’s specific solutions to specific problems.
It’s a reminder that knowing how to use a tool well isn’t just about technique on the water. It’s also about how you equip and configure what you bring to it.
コメント