For significant tube damage that goes beyond what Repair Kit can address — a larger tear, a broader puncture, or a repair that needs to last — this is the right patch material.
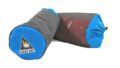
The AlpackaRaft DIY Tube Patch Set is TPU-coated nylon patch material compatible with every AlpackaRaft model and fabric (Lightweight 210d, 210d, 420d, Vectran, and others). Combined with the appropriate adhesive, it forms a permanent bond on the coated exterior of the tube.
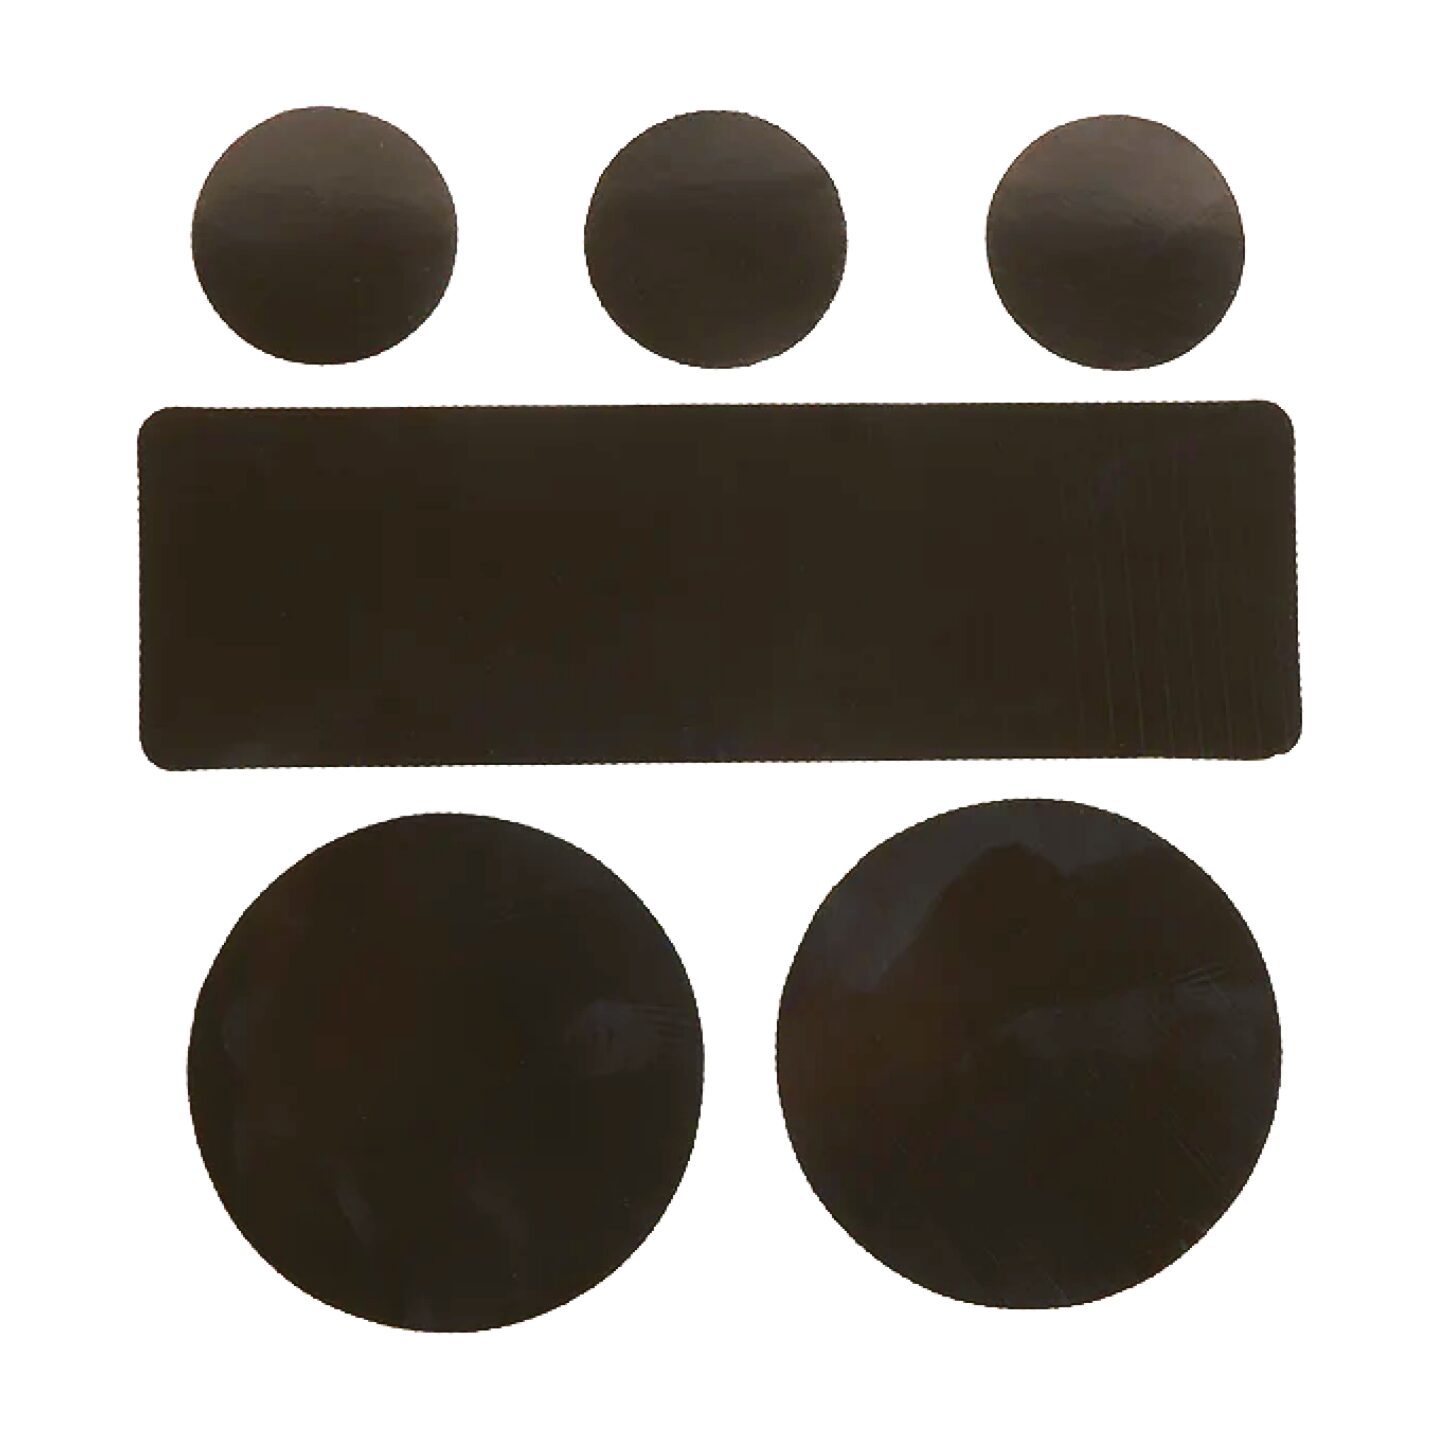
What’s in the Set
- Rectangular patch: approx. 6.3cm × 20.3cm (2.5″ × 8″) × 1
- Large round patch: approx. 8.8cm diameter (3.5″) × 2
- Small round patch: approx. 4.4cm diameter (1.75″) × 3
Small round patches are best for pinholes. Large round or rectangular patches are for tears and larger damage. Leave approximately 4.5cm of patch material around the damaged area for a reliable bond.
Adhesive and Solvent — Not Included, Required
This set contains patch material only. Adhesive and solvent must be sourced separately.
Recommended adhesive: Clifton Urethane LA4123 or Sta-bond ※ Clifton Urethane LA4123 may be difficult to source outside the US
Recommended solvent: Acetone or MEK
⚠️ Due to hazardous materials regulations, adhesives and solvents are not available through this shop. Source them at a local hardware store.
What You’ll Need
PPE: Gloves, eye protection, organic vapor respirator
Tools: Glue roller, lint-free cloth, whiteboard marker, isopropyl alcohol, scissors, sandpaper (approx. 180 grit)
Working conditions: Well-ventilated space. Optimal: 24°C / 75°F, below 50% humidity. Work with the boat fully deflated.
Step-by-Step Repair Process
Step 1 Select the right patch. Aim for approximately 4.5cm of patch extending beyond the damage on all sides.
Step 2 Mark the repair area on the boat with a whiteboard marker.
Step 3 Lightly sand the marked area with 180-grit sandpaper. You don’t need to remove the TPU coating — stop when the surface loses a little gloss.
Step 4 Using a lint-free cloth with acetone, clean the patch bonding surface and the marked area on the boat. Prepare a slightly larger area than the patch itself.
Step 5 Apply a thin coat of adhesive to both the patch and the boat. Wait 5 minutes.
Step 6 Apply a second thin coat of adhesive to both surfaces. Wait at least 5 minutes until the surfaces feel dry to the touch.
Step 7 Press the patch onto the boat surface, working from the center outward to avoid air bubbles. Use a roller and go over every part of the patch in multiple directions — the adhesive only cures where physical pressure has been applied. Ensure all edges are thoroughly rolled.
Step 8 Wipe away excess adhesive with a lint-free cloth and alcohol.
Step 9 Allow at least 24 hours to cure.
Step 10 Do not roll or fold the boat while the patch is curing. You can test the bond by trying to lift the edge with a fingernail — if it holds, the cure is progressing.
How This Differs from the Basic Repair Kit
| DIY Tube Patch Set | Basic Repair Kit | |
|---|---|---|
| Primary use | Permanent tube repair | Field first aid + small-scale repairs |
| Patch material | TPU-coated nylon (all fabrics) | 840d floor fabric (floor repairs) + adhesive patches |
| Adhesive | Separate purchase required (Clifton Urethane etc.) | Aquaseal included |
| Target area | Tube exterior (coated surface) | Tube + floor |
For larger tears or damage that requires a lasting repair, this patch set is the right tool. The Basic Repair Kit handles smaller repairs and field first aid with Aquaseal.
Product Link
→ AlpackaRaft DIY Packraft Tube Patch Set — Packraft Hokkaido Web Shop
コメント