The Kushiro River has one of the deepest paddling histories of any river in Hokkaido.
Canadian canoe culture took root here decades ago, and the river has been a destination for river travelers ever since. What changes when you bring a packraft? And what does someone planning their first Kushiro trip actually need to know?
This article combines a full trip report from a guided 2-day packraft descent with the practical information you need to plan your own.
Trip Overview
| Route | Lake Kussharo → Shibecha Canoe Port Fujiekimae |
| Duration | 2 days, 1 night |
| Difficulty | Headwaters: Intermediate (solid boat control required) / Mid-lower: Beginner–Intermediate |
| Style | River touring with overnight camp |
| Access | Approx. 3–4 hours from Sapporo to Lake Kussharo |
| Recommended season | May–October |
Route Breakdown
Headwaters Section (Lake Kussharo → around Biruwa Bridge)
At Chokobashi Bridge — the boundary between lake and river — the current seems to pull you in, as if the Kushiro River is drawing you into itself. That moment marks the start of the headwaters section.
From here, the river narrows and winds constantly, with fallen trees appearing around almost every bend. The current looks deceptively gentle, but precise boat control and active river reading are required throughout. Accidents — flips, swimmers — do happen to visitors who underestimate the technical demands. This section is best approached after you’ve genuinely developed your paddling skills, and with a local guide for your first visit.
One detail worth noting: the passage gaps through the fallen trees aren’t random. Local guides deliberately remove only the minimum amount of wood necessary to keep a single boat passage open — intentionally preserving the natural state of the river. The clarity of the water and the technical demands of the paddling make the headwaters their own distinct experience, separate from the more famous lower wetlands.
Mid-Section (Biruwa Bridge → Canoe Port Mashu Bridge)
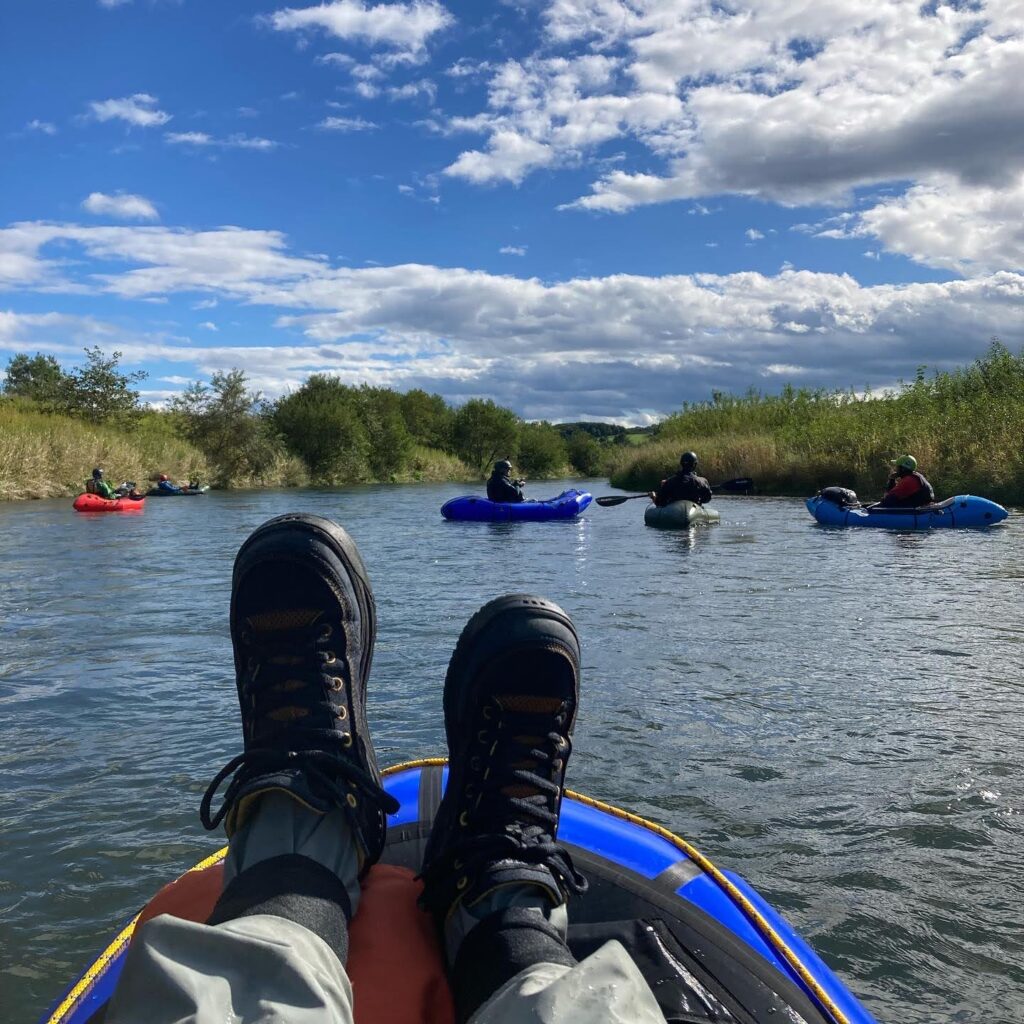
Below Biruwa Bridge, the river gradually opens up and the first proper riffles appear. Packrafts handle this transition well — comfortable on flatwater, capable enough in light rapids to keep moving without stress. The section known locally as the “clay walls” had been free of major logjam issues on our visit, but river conditions change year to year. Always seek current information before your trip.
Lower Section (Mashu Bridge → Shibecha)
Below the portage point at Sanpekotan (see Safety section), the river broadens significantly. The wide eastern Hokkaido sky opens above you, and the pace slows to something genuinely restful. Paddling while eating lunch is entirely practical here. On this trip, we stopped short of the full wetlands — our finish line was Shibecha.
Note on the restricted zone: The 6km stretch below Mashu Bridge is currently a no-navigation zone (due to concrete riverbed infrastructure, the section is also unsuitable for paddling regardless). Local guides and authorities are reportedly working toward reopening it. This section is covered on foot — and walking through Teshikaga midway through a river trip turns out to be one of the better parts of the experience.
Getting There
Start point (Lake Kussharo / Teshikaga)
- Approximately 3–4 hours by car from Sapporo
- Teshikaga town serves as the practical base
Finish point (Shibecha)
- Approximately 30–40 minutes by car from Teshikaga
- Car shuttle logistics are best handled through your guide
If your group is coming from multiple locations — which is common for this trip given eastern Hokkaido’s distances — meeting directly at the put-in is the practical approach. Driving through the night and grabbing a few hours of sleep en route is a standard way to manage the distance from Sapporo.
Why Go with a Guide
Rivers change every time they flood — new logjams form, banks shift, the character of a stretch can transform overnight. On a home river you paddle regularly, keeping track of conditions is manageable. On a river you visit once or twice a year, local knowledge is everything.
The guides on this trip:
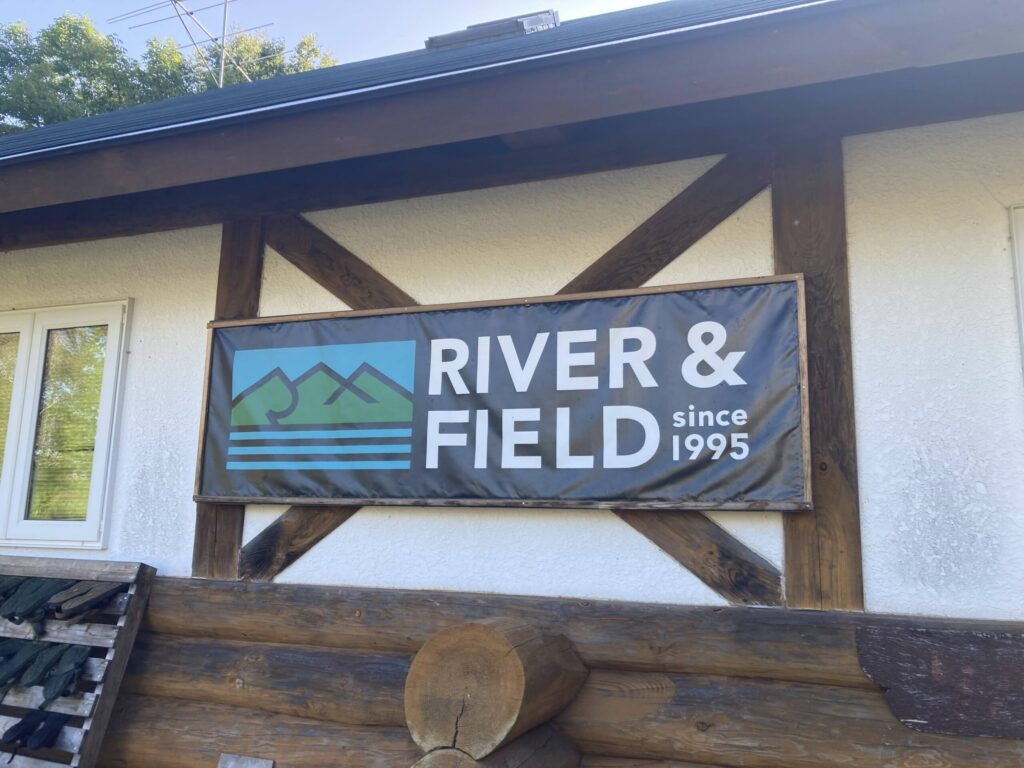
- Tsuchiya-san / River & Field — Canadian canoe guide operating on the Kushiro River
- Kokubu-san / Kai Packrafting Hokkaido — packraft guide arm
A local guide doesn’t just manage safety — they provide current river conditions, know which sections to be cautious about, and open doors to local experiences (restaurants, onsen, izakayas) that you’d never find on your own.
Trip Report — Day 1: Lake Kussharo to Canoe Port Mashu Bridge
Getting there
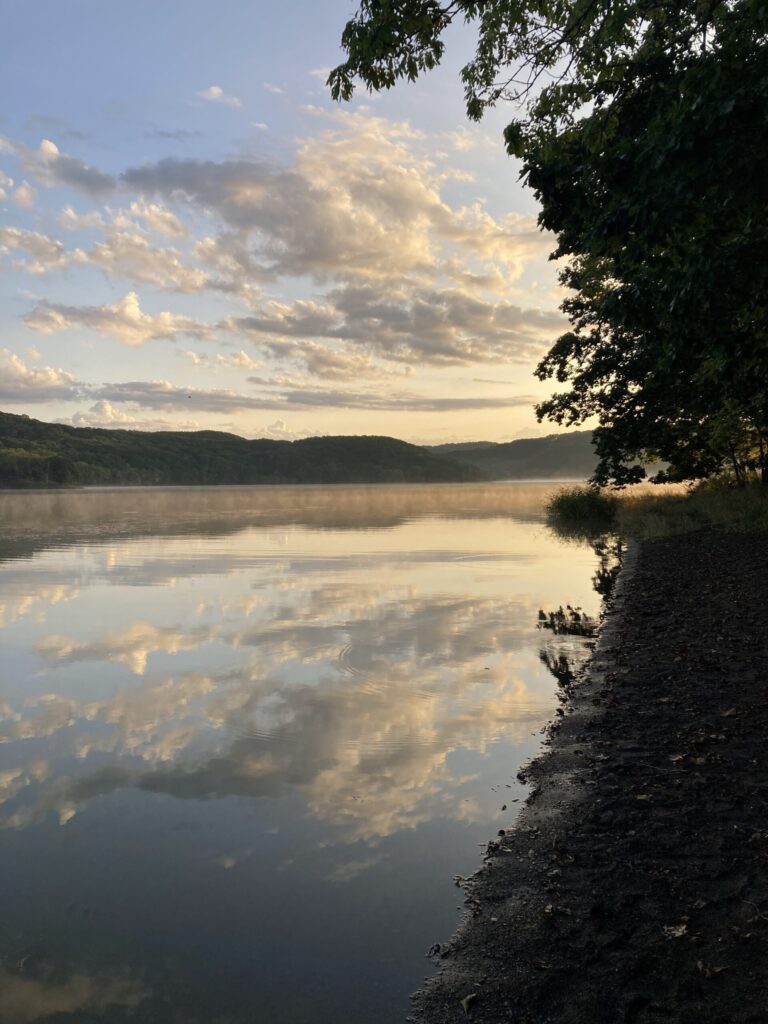
Our group came from Sapporo, Minami-Furano, and Teshikaga — so we met directly at the put-in. I left Sapporo the night before, drove through the night, and grabbed a few hours of sleep on the way. A stop at Lake Toro just before dawn made it feel undeniably like eastern Hokkaido.
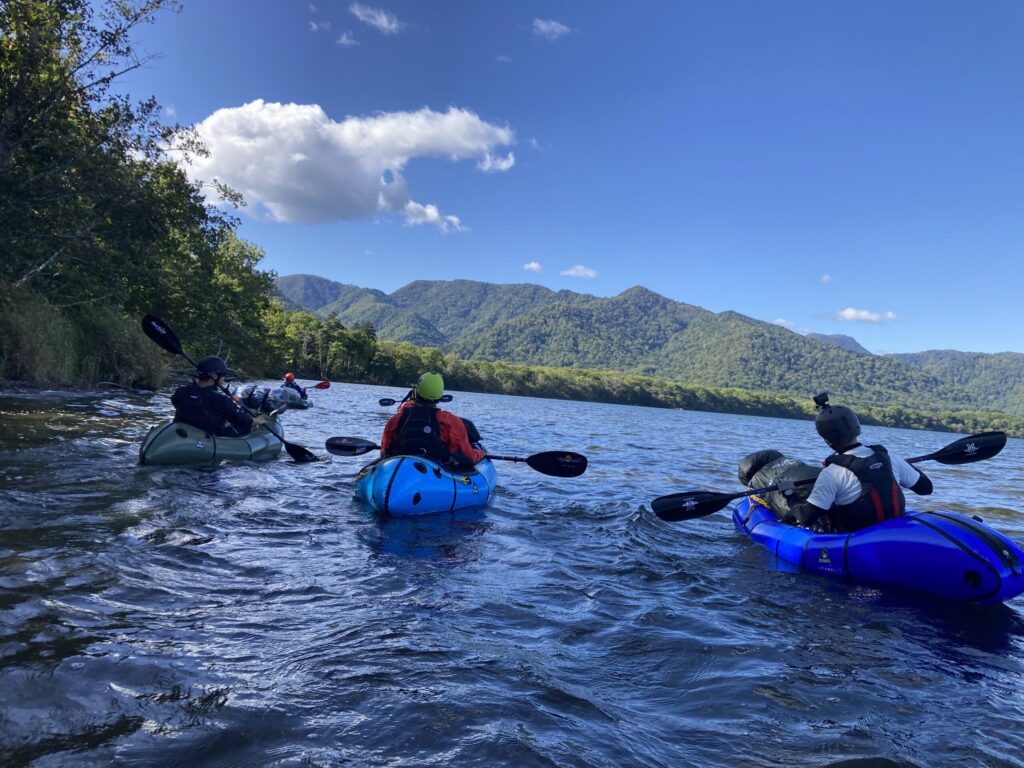
Launch from Lake Kussharo
Kai Packrafting Hokkaido’s base sits right on the shores of Lake Kussharo — less than five minutes’ walk to the put-in. After packing up and setting up the packrafts, we launched onto the lake with a light breeze but nothing that slowed us down.
Headwaters
The moment at Chokobashi Bridge — where the lake’s water begins to be drawn into the river — is something that’s hard to describe but easy to remember. From there, the trees close in, the river narrows, and you’re reading water constantly.
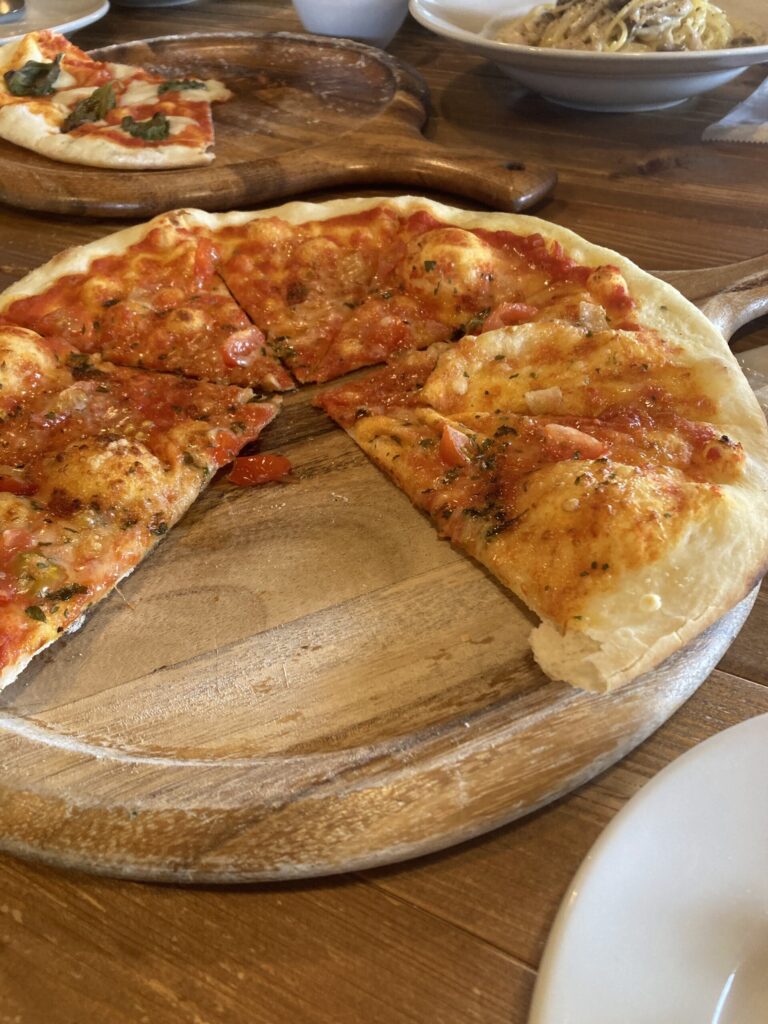
Midway through the day, we pulled up to COVO — an Italian restaurant accessible by canoe (or packraft). We’d planned the stop in advance, de-kitted properly outside, and ate well. Eating Italian food in the middle of a river trip is a level of comfort that’s difficult to top.
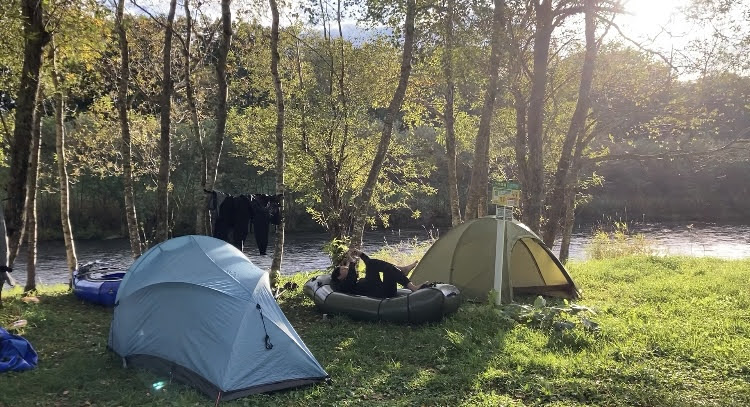
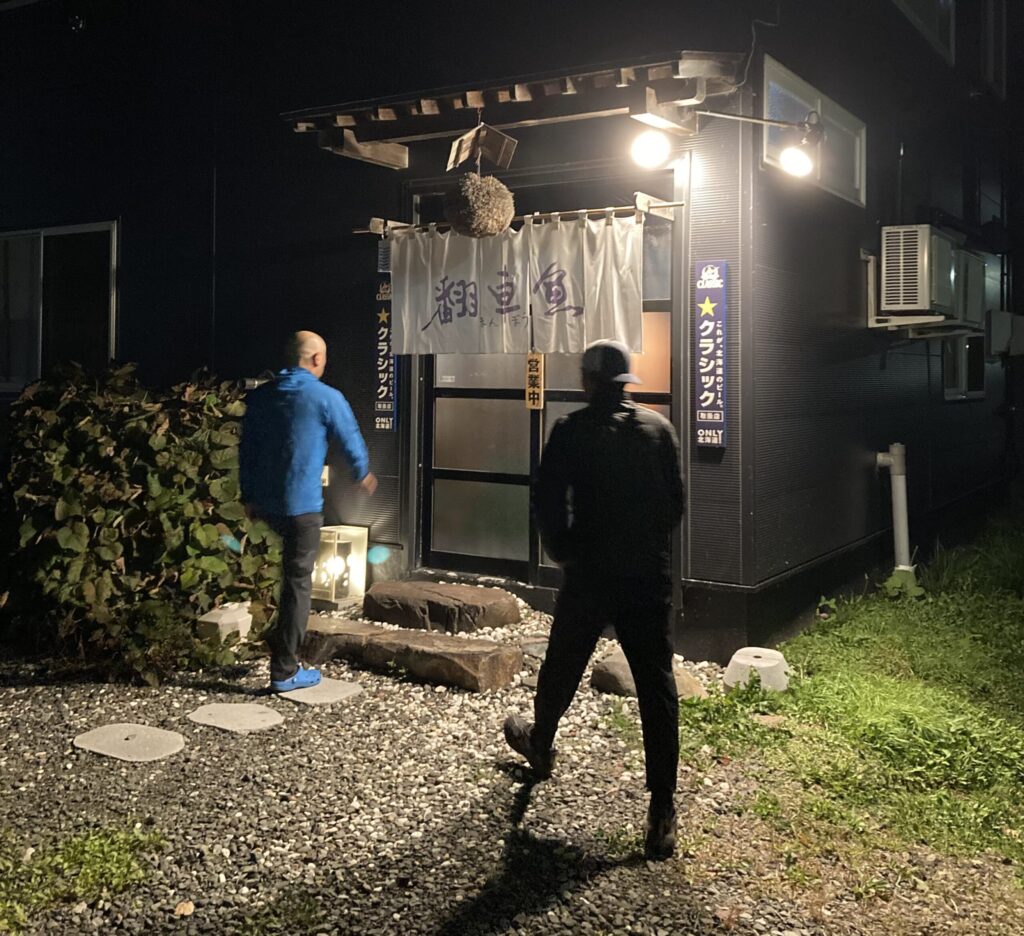
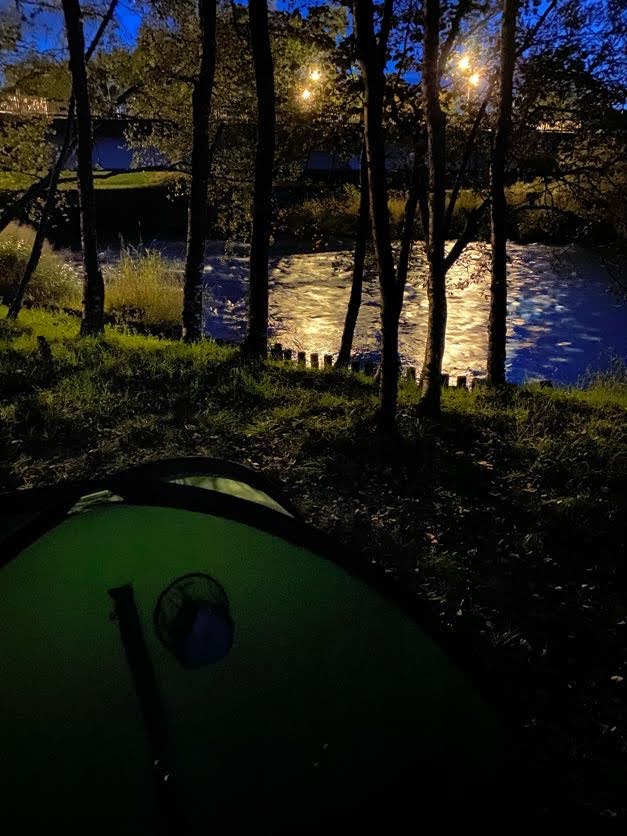
Camp
We reached Canoe Port Mashu Bridge by late afternoon, set up tents, and cleaned up at Mashu Onsen Virao-no-Yu just steps from camp. That evening, on the guides’ recommendation, we went to a local izakaya in Teshikaga with deep ties to Kushiro River canoe culture. Conversation covered Hokkaido outdoor history and the river scene then and now.

Trip Report — Day 2: Mashu Bridge to Shibecha
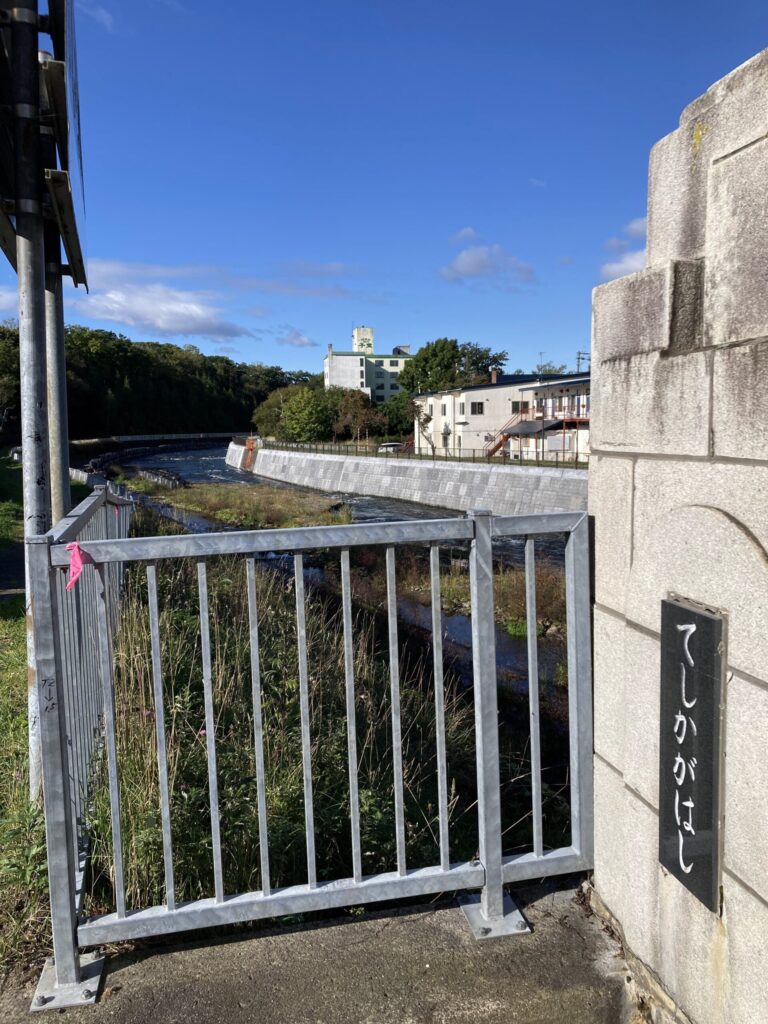
Walking through Teshikaga
With the restricted zone beginning immediately below Mashu Bridge, Day 2 started on foot. We stopped at a natural spring across from Michi-no-Eki Mashu, picked up food at a local convenience store, and walked through the shopping street toward the next put-in. Walking through an unfamiliar town mid-river trip is one of those experiences that makes packraft travel feel distinct from any other kind of outdoor trip.
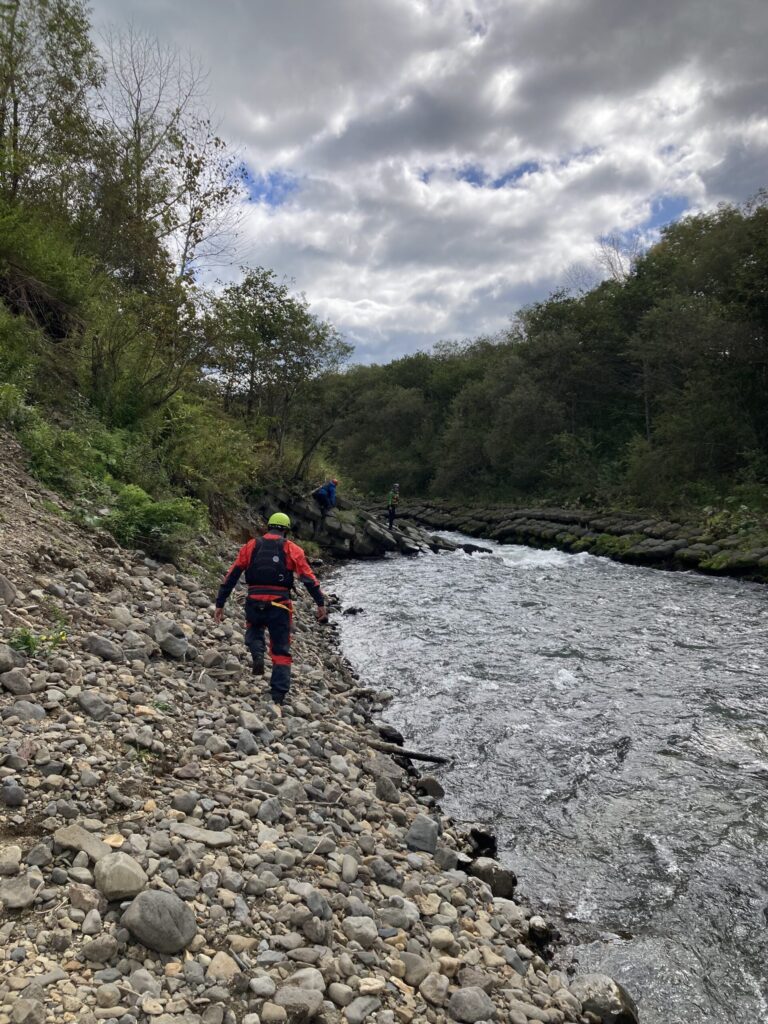
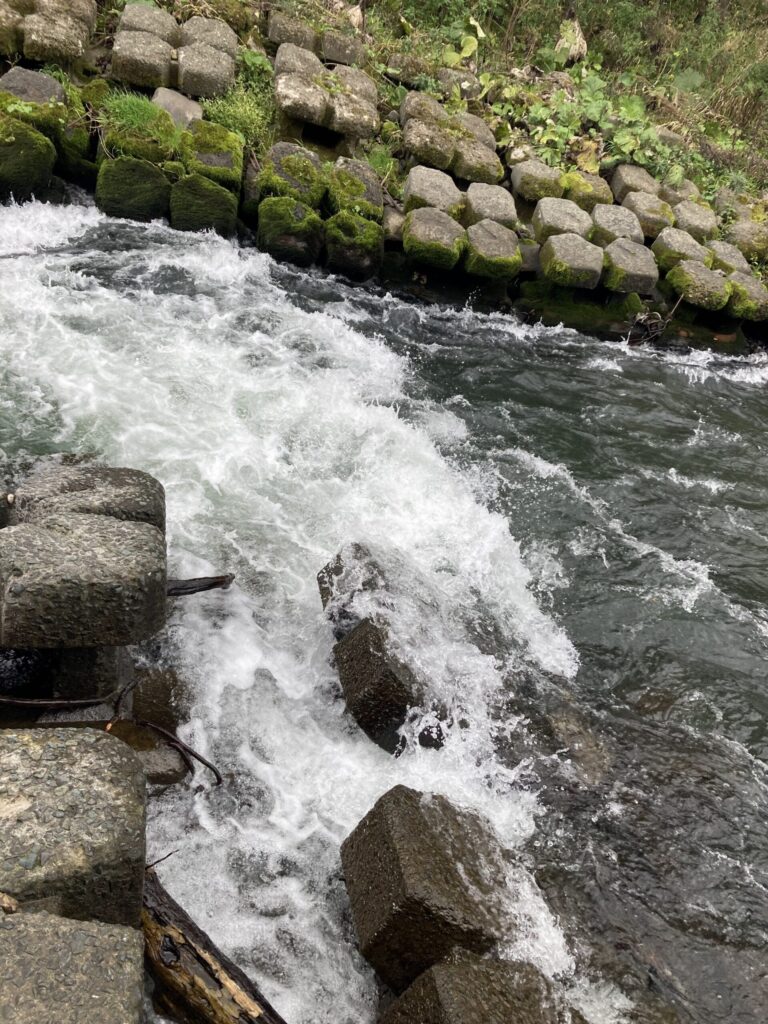
The Portage at Sanpekotan
Shortly after re-entering the river, we reached the portage point at the Minami-Teshikaga Sanpekotan district. Riverbank construction and subsequent structural collapse has created a hazardous chute-like feature where a flip could lead to serious trouble. This is a mandatory portage — no debate, no assessment of whether you’re skilled enough. Carry around.
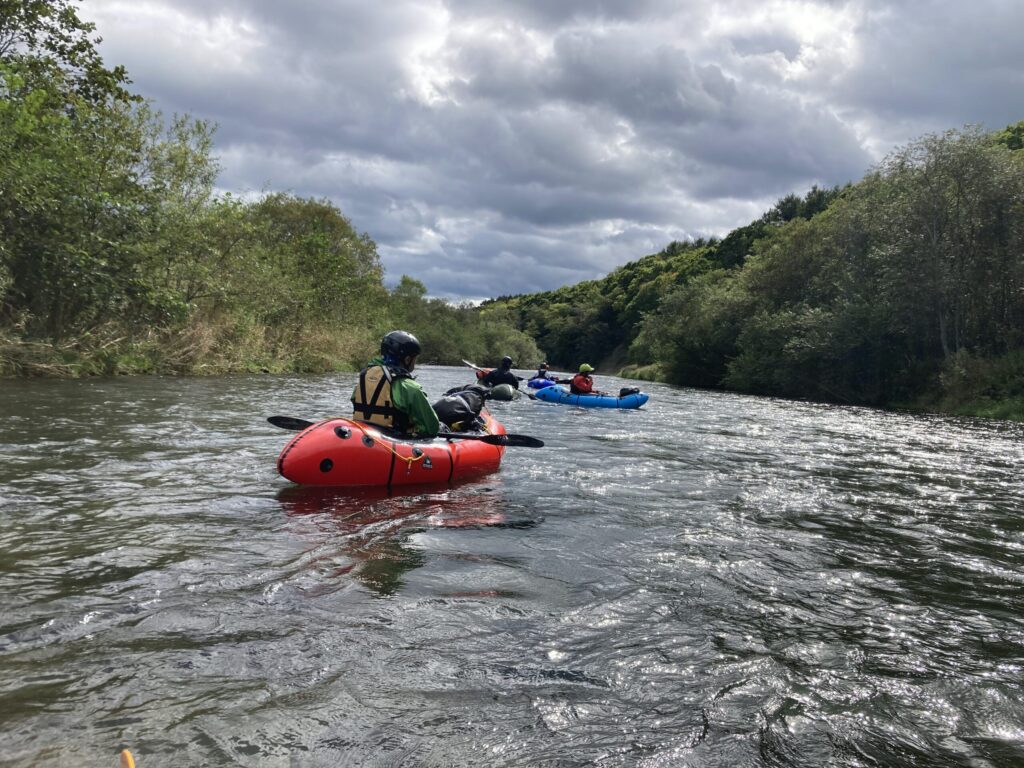
Lower river to Shibecha
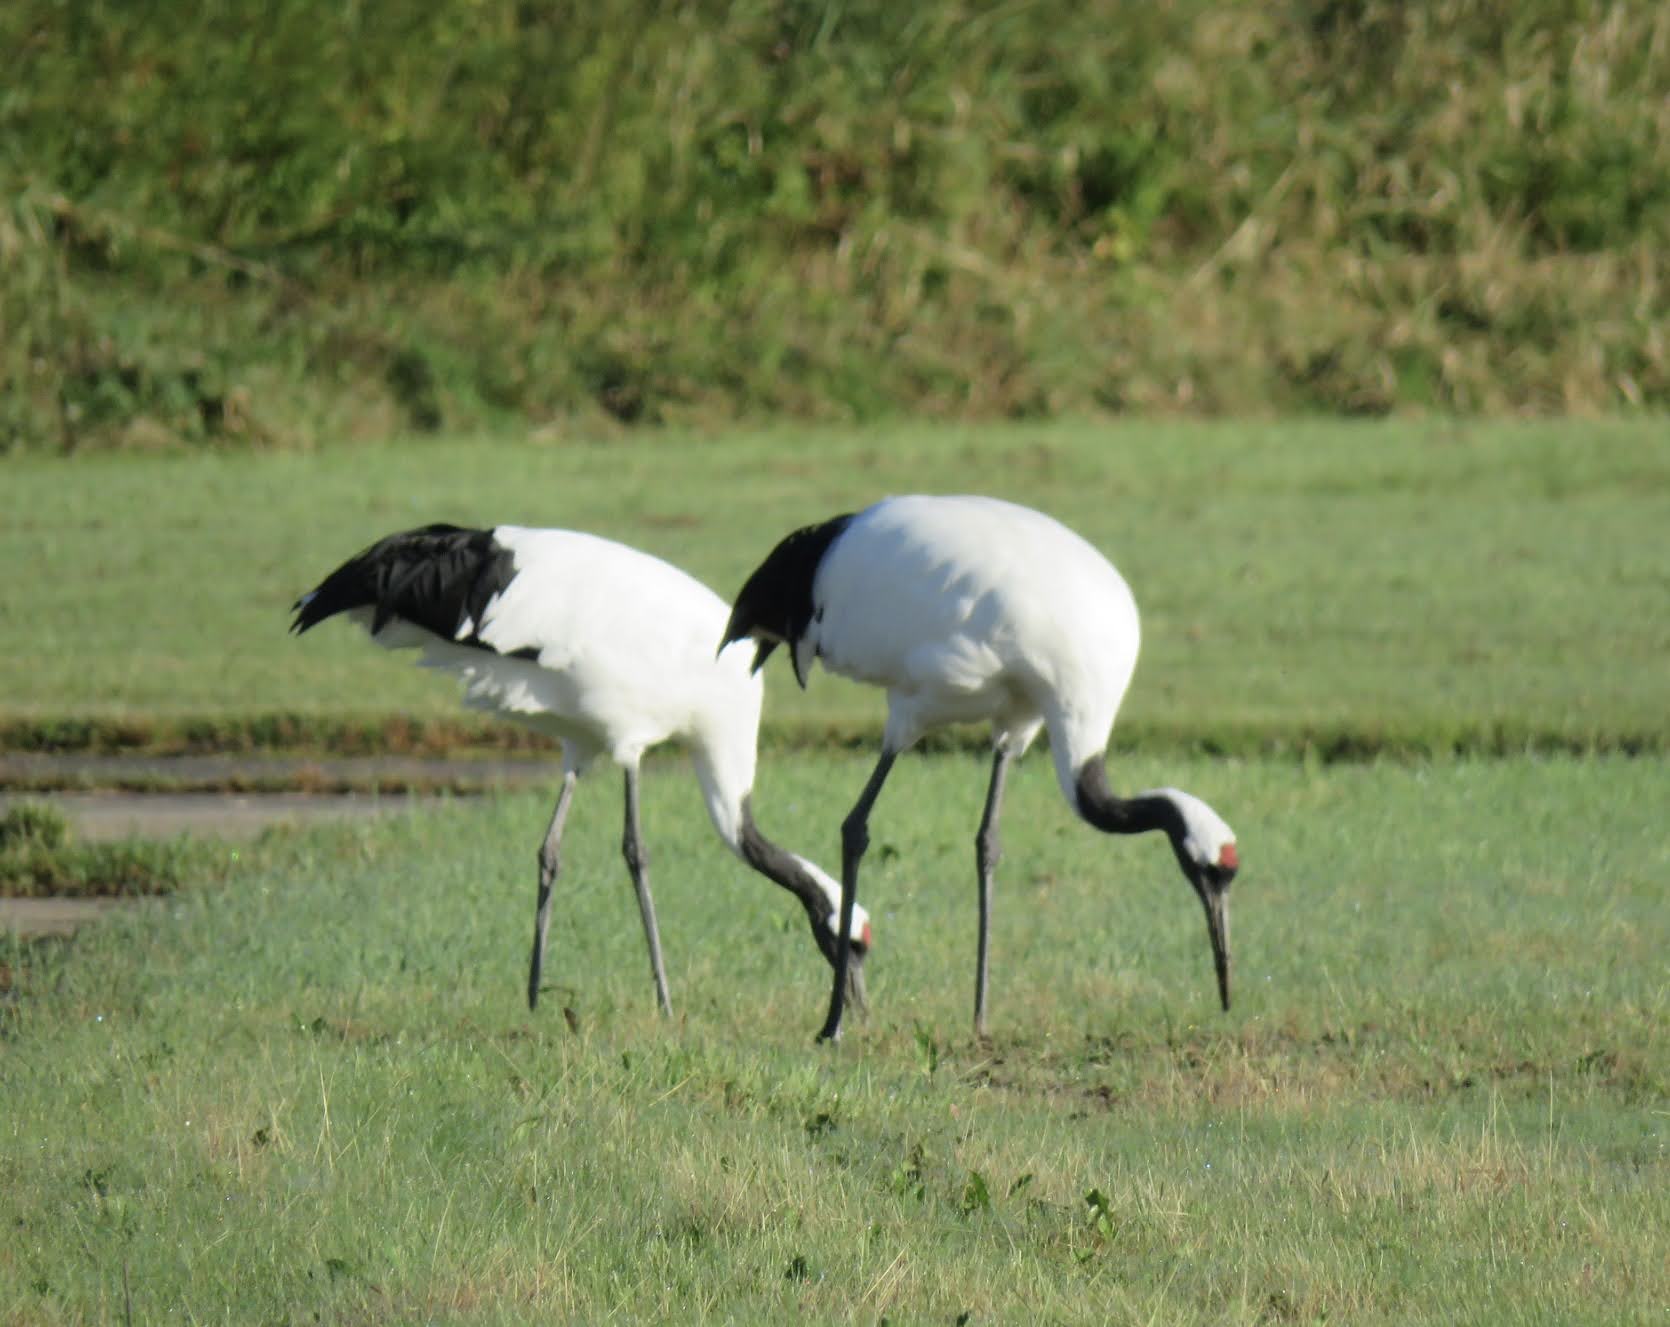
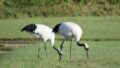
Below the portage, the river opens up completely. We floated, drifted, and paddled at our own pace — lunch on the water. The finish at Shibecha was followed by a brief conversation with a couple out walking, who thanked us for visiting. A pair of cranes on the riverbank added the appropriate eastern Hokkaido punctuation.
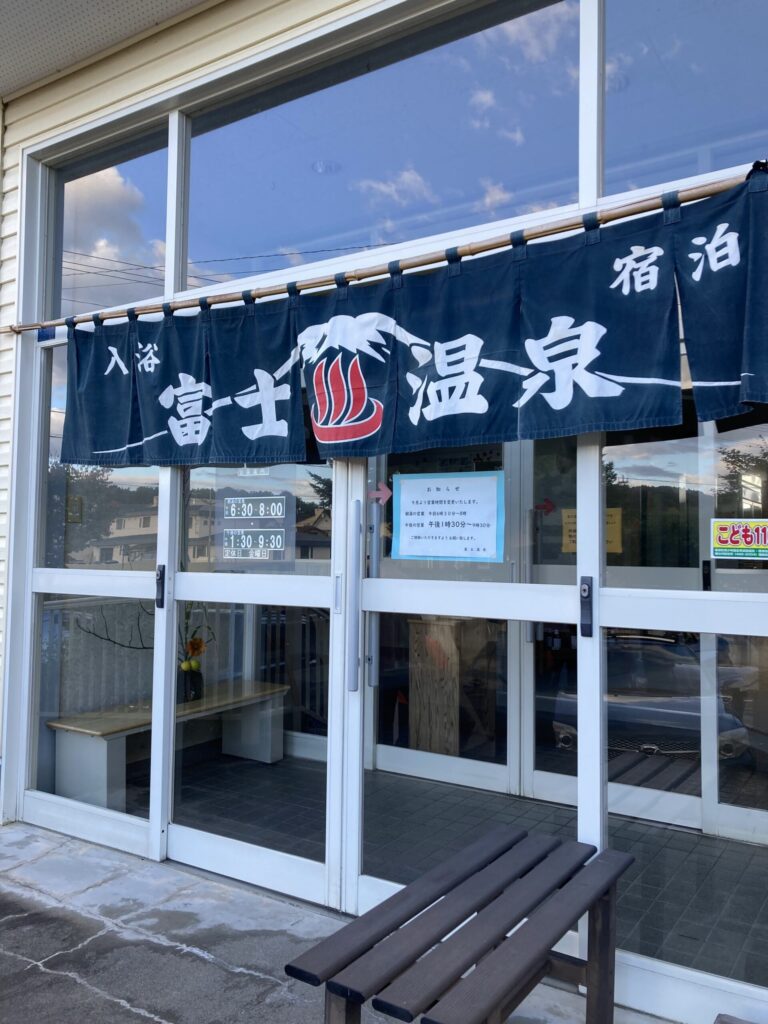
We cleaned up at Fuji Onsen in Shibecha and went our separate ways. (Note: Fuji Onsen unfortunately closed in 2024.)

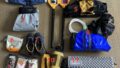
Gear for the Kushiro River
The Kushiro covers a range of conditions — from narrow technical headwaters to wide, slow lower sections. The boat needs to handle both.
Packraft: A touring-oriented model with good maneuverability works well. Alpacka Raft Classic (WR deck) is a practical choice for this river type. → Packraft Hokkaido Web Shop
Drywear: Hokkaido water temperatures stay cold throughout the season. A dry top and dry pants, or a full drysuit, is baseline gear regardless of air temperature.
Safety: PFD (minimum 7.5kg buoyancy), helmet, river knife, whistle, throw bag (one per person). Non-negotiable.
Overnight gear: For the Canoe Port Mashu Bridge camp — tent, sleeping bag, mat, food. Plan your packraft load accordingly; test your packing setup before the trip.
→ Full gear breakdown: Packraft River Gear List — 13 Essentials
Safety Notes
River conditions change every year: Logjams, water levels, and bank features shift with each flood season. Get current information from local guides before your trip — every time.
The headwaters section requires intermediate paddling skills: Active river reading and precise boat control are necessary. First-time visitors should go with a guide.
The Sanpekotan portage is mandatory: No skill assessment needed. The hazard is structural, not situational. Carry around without exception.
Wear your PFD at all times: Including flatwater sections and lake crossings.
Confirm the restricted zone boundaries: The no-navigation section below Mashu Bridge may change. Verify current status before your trip.
A Note on What Packraft River Travel Is
My approach to packrafting leans toward river-as-travel — using rivers as routes that connect towns, blending outdoor adventure with genuine local experience. It doesn’t require fully self-sufficient wilderness travel. If anything, I think of it as closer in spirit to long-distance hiking than mountaineering: the barrier to entry is real, but once someone starts to see the river as a form of travel, packrafting becomes a lot more approachable.
Related Articles
- Shisorapchi River, Minami-Furano — BC Packrafting
- Urban Packrafting the Toyohira River, Sapporo (link to be added on publication)
- Packraft River Gear List — 13 Essentials
コメント